Winter is still here! While the cold and gray might be getting you down, nothing will make your home cheerier than a DIY snowman pillow! This DIY project is super simple…get the kids involved for an afternoon of fun! This is a great project to do when you’re not feeling so hot from chemo, or when your life as a caregiver needs a little project to take your mind away for a while.

For this project you will need…
[list type=”like”]
[list_item]snazzy thread…I used a gold color but you could use thread matching the fabric or another great stand out color[/list_item]
[list_item]matching thread…I used a beige color[/list_item]
[list_item]1 yard white or beige flannel fabric[/list_item]
[list_item]1/2 yard black flannel fabric[/list_item]
[list_item]1/4 yard orange flannel fabric[/list_item]
[list_item]1/4 yard red flannel fabric[/list_item]
[list_item]craft batting…looks like fluff :)[/list_item]
[list_item]sewing machine or hand sewing needle[/list_item]
[list_item]one snowman pillow pattern[/list_item]
[/list]
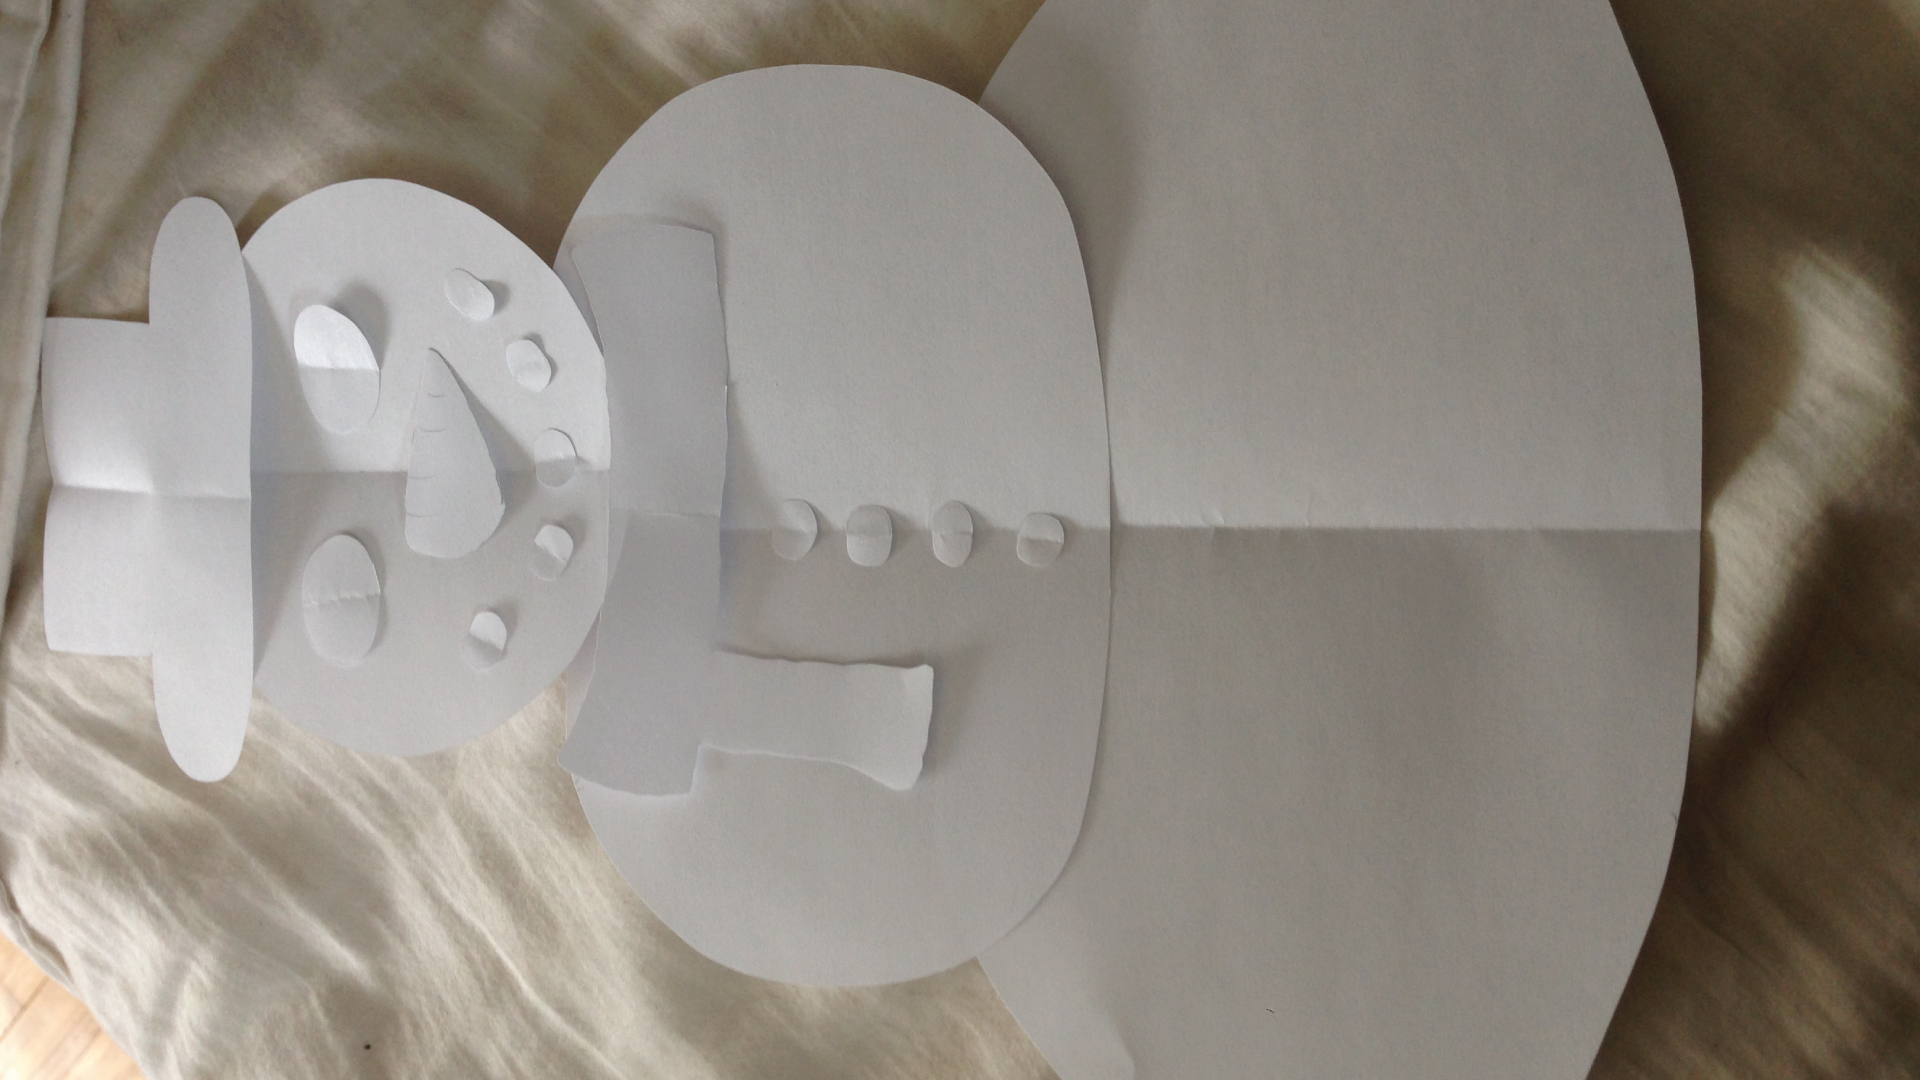
The first step is to print out your pattern (found by following the link above) and to cut out each shape that you’ll need. Then, starting with the snowman’s body, pin the body oval-like shapes onto your white/beige flannel fabric. Since you’ll need a front and back to each piece, I found it easiest to double layer my fabric, pin the paper pattern to the two layers, and cut out at the same time. Alternatively, you can just cut out one, simple body outline instead of three different oval parts of the body.


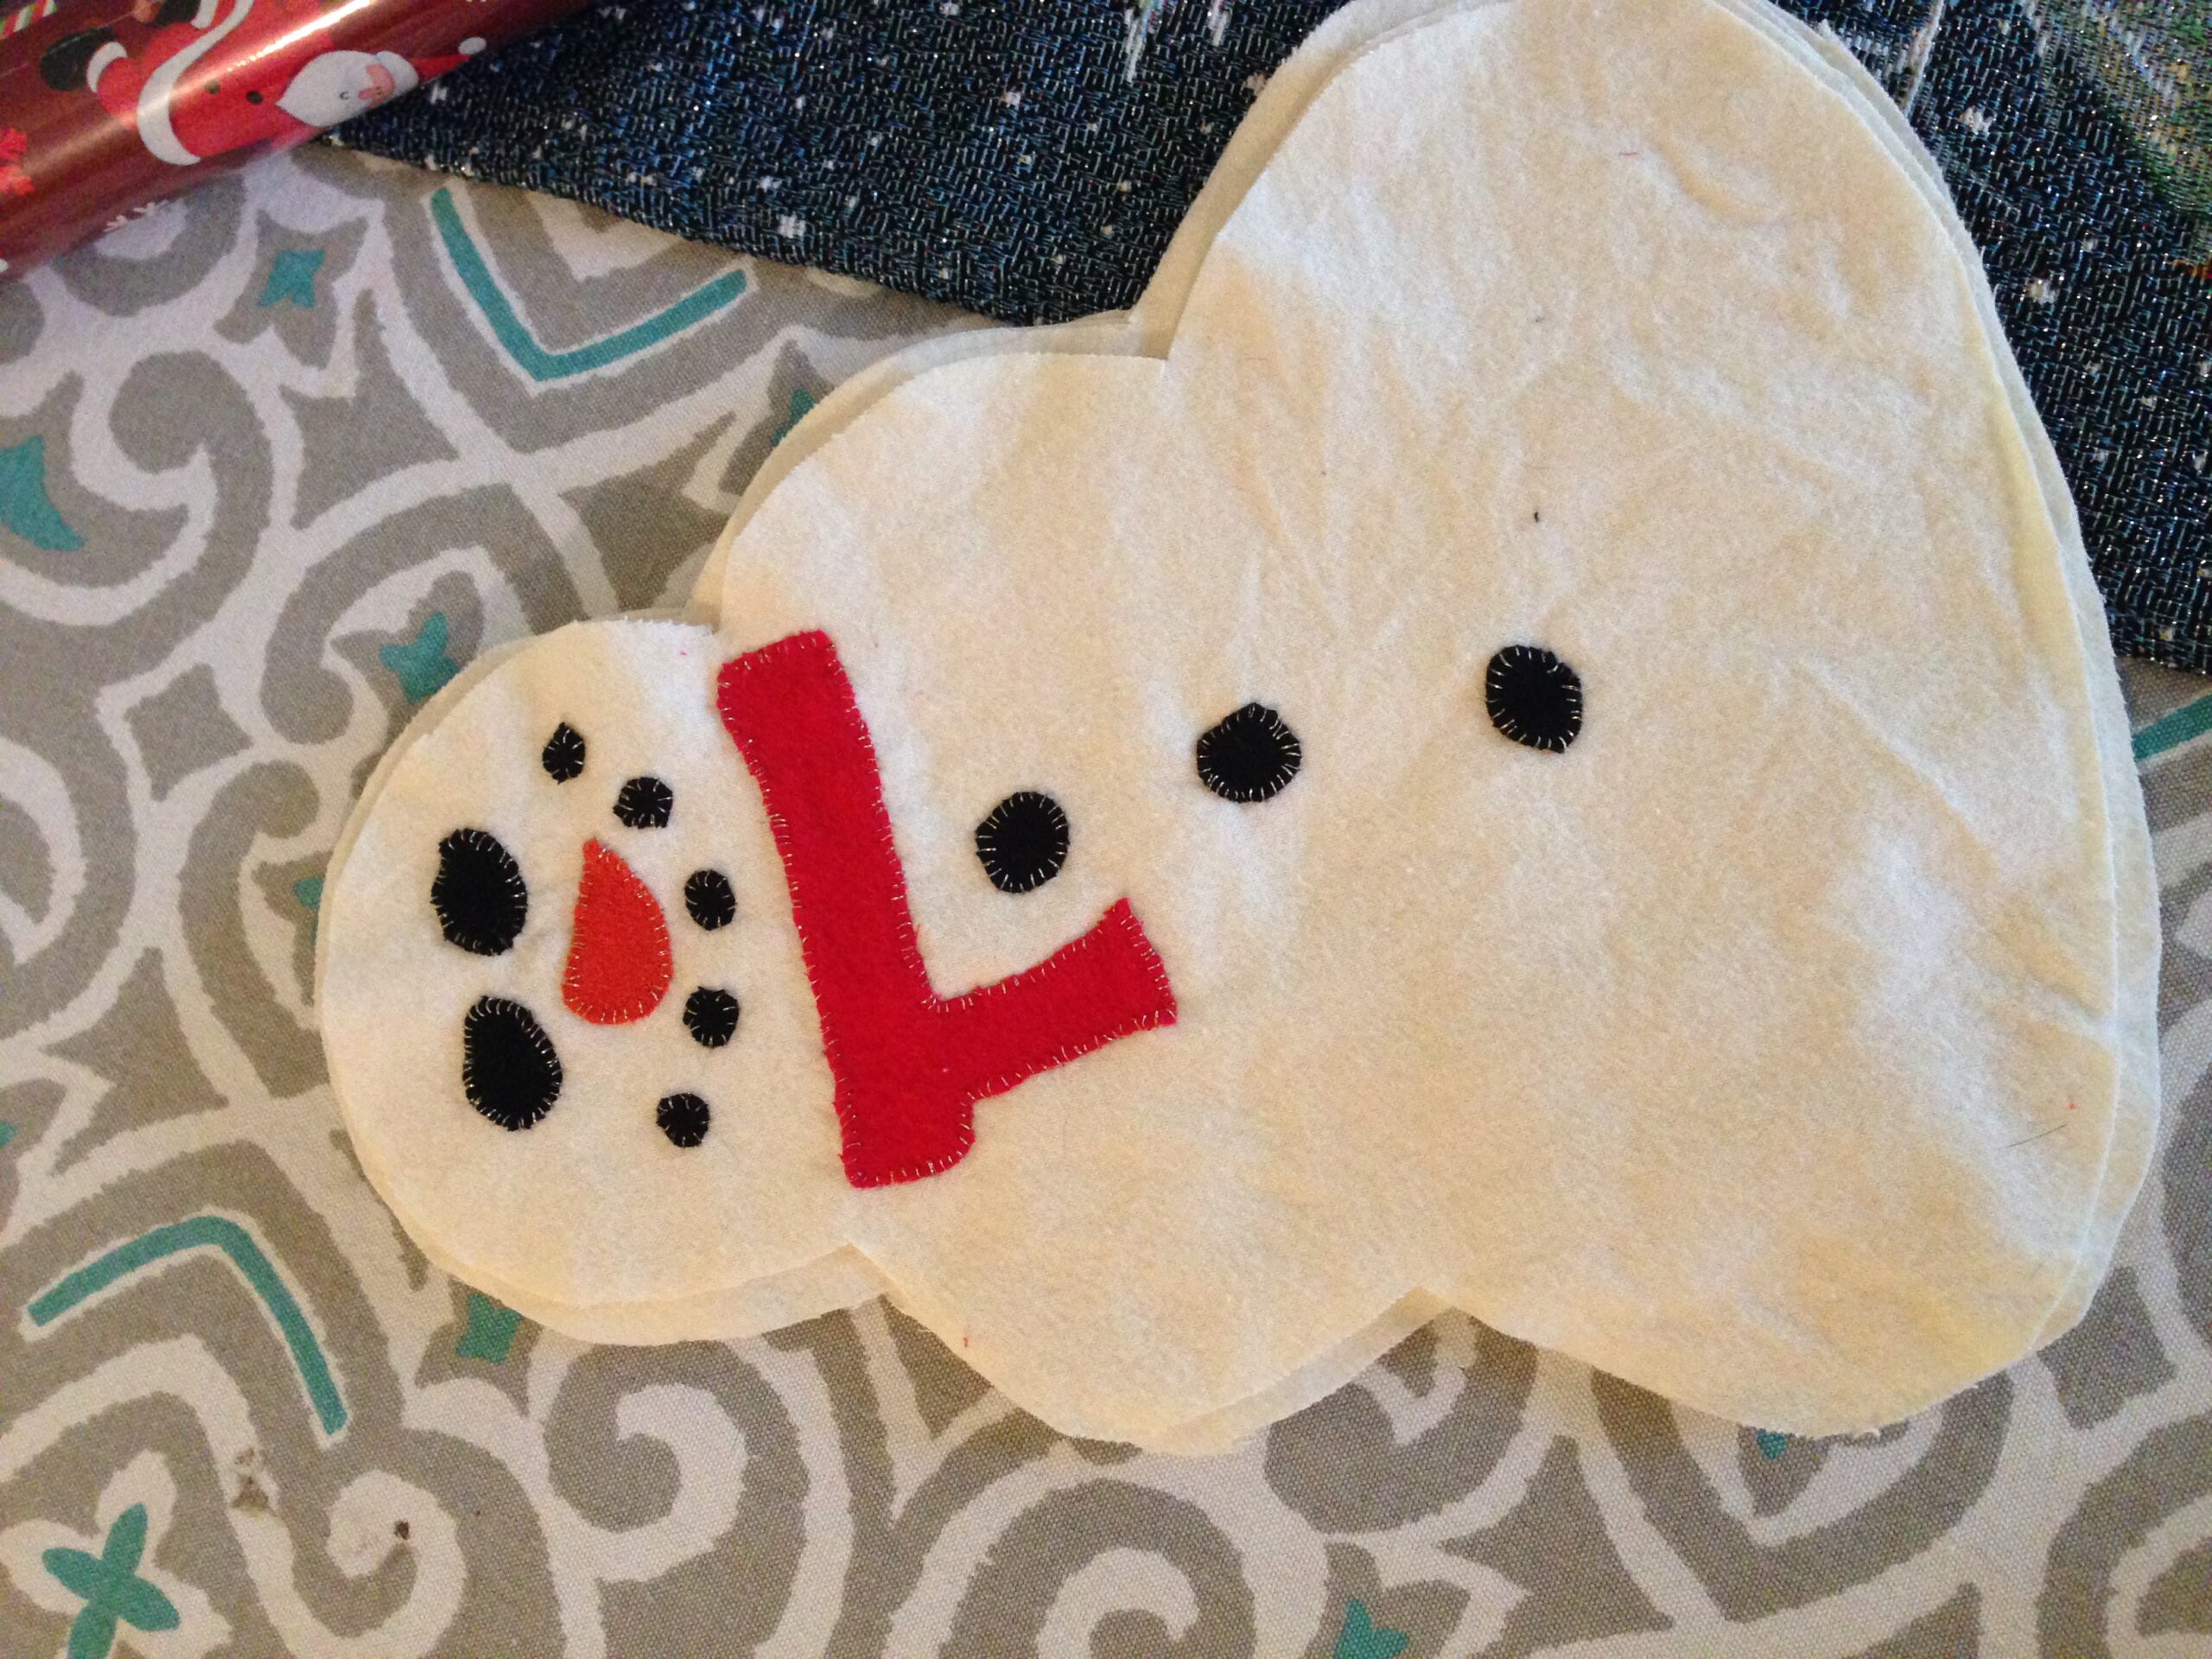
Next, sew each part of the front body together. You will have a front body and a back body (seen in pieces next to one another above). Keep these two bodies separate until the end. Place the bottom oval pretty-side up (pretty-side = the side that will face outward when you are done) with the medium oval pretty-side down (face their pretty-sides towards one another), pin, and sew either by hand or with a sewing machine. Repeat this step to sew the head onto the rest of the body, and then all over again for the back body of the diy snowman pillow.


Next tackle the hat. You’ll need a front and back hat so double layer the black flannel fabric under your paper hat part of the pattern and cut out. Then, pin the base of the hat onto the rest of the body and sew together. Do this for the front body as well as the back body of the diy snowman pillow.


Now comes the part where we add the face and body details to your diy snowman pillow! I used black for the eyes, mouth, and buttons, red for the scarf, and orange for the nose. You could definitely mix up the colors however you’d like though! I sewed on each part to the front body of the snowman…eyes, nose, mouth, buttons, and scarf…by hand using the method shown in the pictures below. I used a glitzy, gold thread which added some pop to the design.


Finally, the front body (with the face, scarf, and button details) needs to be sewn onto the back body. Take the back body and pin it to the front body with the pretty-sides facing one another. Sew all around the snowman, leaving about 6 inches worth of bottom oval open. You can do this by hand or with a sewing machine. Then, turn the snowman right-side-out and stuff him with your batting.

To finish, sew up the bottom 6 inch gap using a hidden stitch. Voila!
And that’s it! What do you think? I love adding fun, wintery touches to my home when it is so cold and dreary outside. Helps make the winter months more fun 🙂
Some tips that I found helpful…Use a smaller embroidery needle when sewing on the details to the face. Keep the details of the face towards the center of that face oval. This will allow for some buffer when you sew the back body onto the front body. (A stout snowman becomes a normal looking snowman when you lose 1/4″ of sewing allowance all around).
If you have any questions feel free to email or comment them our way! We’d love to help you complete your own diy snowman pillow!


