How Knitting Saved My Life

how knitting saved my life

I was asked what was something that helped me get through my cancer diagnosis and treatment. Several things did help, journaling my feelings, talking to other cancer survivors (you’re a survivor from the moment of diagnosis!) and keeping as active as possible even if it was just getting out of bed and sitting up in a chair. But the number one thing that both saved my life and my sanity was my knitting.

Laven-knittingcirclesaroundcancer

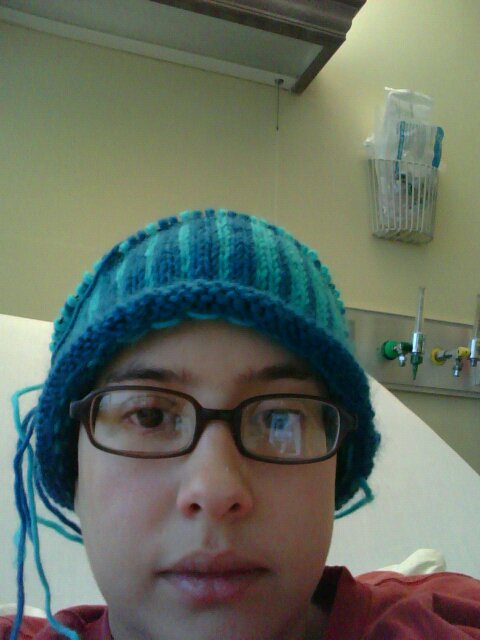
During the months of chemotherapy I finished five hats, a cowl and a scarf. I started but never finished two sweaters and a pair of socks. Knitting gave me a purpose, a way to mark the passage of time, and most of all an outlet for my pent up anxiety and anger. Knitting went from something that I would do most days to something that I had to do every single waking moment. If I knit fast enough, I could outpace my cancer’s growth. If I bought enough yarn and had enough projects planned, I could keep death at bay. St Peter couldn’t take me away, I had a sweater to finish first!

Chemo made time slow horribly down. If I had something to work on, my day felt like it went by marginally faster. I would wake up at 5:30 am from a fitful night’s rest and just knit until the sun rose. If I had something to make, I could say that I did more than just lay in a hospital bed hooked up to an IV. My good days were ones where I knitted endlessly. My bad days were marked by stitches rather than inches.

Vanessahat2

Stabbing my knitting needles through the yarn became my rosary. The rhythmic click became at once soothing and my fight song. I would knit to examine my feelings and to gain distance from them. It was impossible to knit and cry simultaneously so I chose to knit. My world was suddenly much uglier and angry but now I had a way to bring some color and beauty into it.
Knitting helped to remind me that I had a modicum of control in the world and that I could grow something pleasurable. Every day that I made a stitch was a day that I brought beauty into my world even if my hands were numb.

The drive to create also became a beacon of hope. It was a reason to keep going through chemo. I had still many more yards to knit. And I still do. There’s still more beauty for me to knit, if cancer didn’t stop that, nothing else will. I am a knitter, I can do anything.

Vanessa is a martial artist, crafter and blogger living in Minneapolis Minnesota. While she doesn’t knit as much as she did, she keeps her hands busy by making plush internal organs for Survival Organs. You read more about her adventures in survivorship at Mixed Martial Arts and Crafts.

Welcome Vanessa!

Lacuna Loft is excited to start introducing some guest bloggers! These great folks represent a variety of perspectives on the myriad of topics covered here at Lacuna Loft. Before everyone starts really getting into the nitty-gritty of all they have to say, we wanted to introduce them a bit. Without further ado, here is Vanessa!

—-
While battling lymphoma at age 25, Vanessa realized that there was a dearth of support for young people to deal with their cancer diagnosis. Support groups full of grandparents didn’t address having job or family stress, and she vowed that when she was back on her feet she would help people like her find a way to cope and thrive. Focusing on the things that got her through her dark times, and using her creativity as an outlet, she started Survival Organs, selling stuffed organs with funny faces. You can’t punch your real guts but you can punch one of hers.

A DIY Snowman Pillow

diy snowman pillow

Winter is still here!  While the cold and gray might be getting you down, nothing will make your home cheerier than a DIY snowman pillow!  This DIY project is super simple…get the kids involved for an afternoon of fun!  This is a great project to do when you’re not feeling so hot from chemo, or when your life as a caregiver needs a little project to take your mind away for a while.

snowman_11

For this project you will need…

[list type=”like”]
[list_item]snazzy thread…I used a gold color but you could use thread matching the fabric or another great stand out color[/list_item]
[list_item]matching thread…I used a beige color[/list_item]
[list_item]1 yard white or beige flannel fabric[/list_item]
[list_item]1/2 yard black flannel fabric[/list_item]
[list_item]1/4 yard orange flannel fabric[/list_item]
[list_item]1/4 yard red flannel fabric[/list_item]
[list_item]craft batting…looks like fluff :)[/list_item]
[list_item]sewing machine or hand sewing needle[/list_item]
[list_item]one snowman pillow pattern[/list_item]
[/list]

The first step is to print out your pattern (found by following the link above) and to cut out each shape that you’ll need.  Then, starting with the snowman’s body, pin the body oval-like shapes onto your white/beige flannel fabric.  Since you’ll need a front and back to each piece, I found it easiest to double layer my fabric, pin the paper pattern to the two layers, and cut out at the same time.  Alternatively, you can just cut out one, simple body outline instead of three different oval parts of the body.

snowman_4

snowman_7

snowman_6

Next, sew each part of the front body together.  You will have a front body and a back body (seen in pieces next to one another above).  Keep these two bodies separate until the end.  Place the bottom oval pretty-side up (pretty-side = the side that will face outward when you are done) with the medium oval pretty-side down (face their pretty-sides towards one another), pin, and sew either by hand or with a sewing machine.  Repeat this step to sew the head onto the rest of the body, and then all over again for the back body of the diy snowman pillow.

snowman_5

snowman_8

Next tackle the hat.  You’ll need a front and back hat so double layer the black flannel fabric under your paper hat part of the pattern and cut out.  Then, pin the base of the hat onto the rest of the body and sew together.  Do this for the front body as well as the back body of the diy snowman pillow.

snowman_10

snowman_9

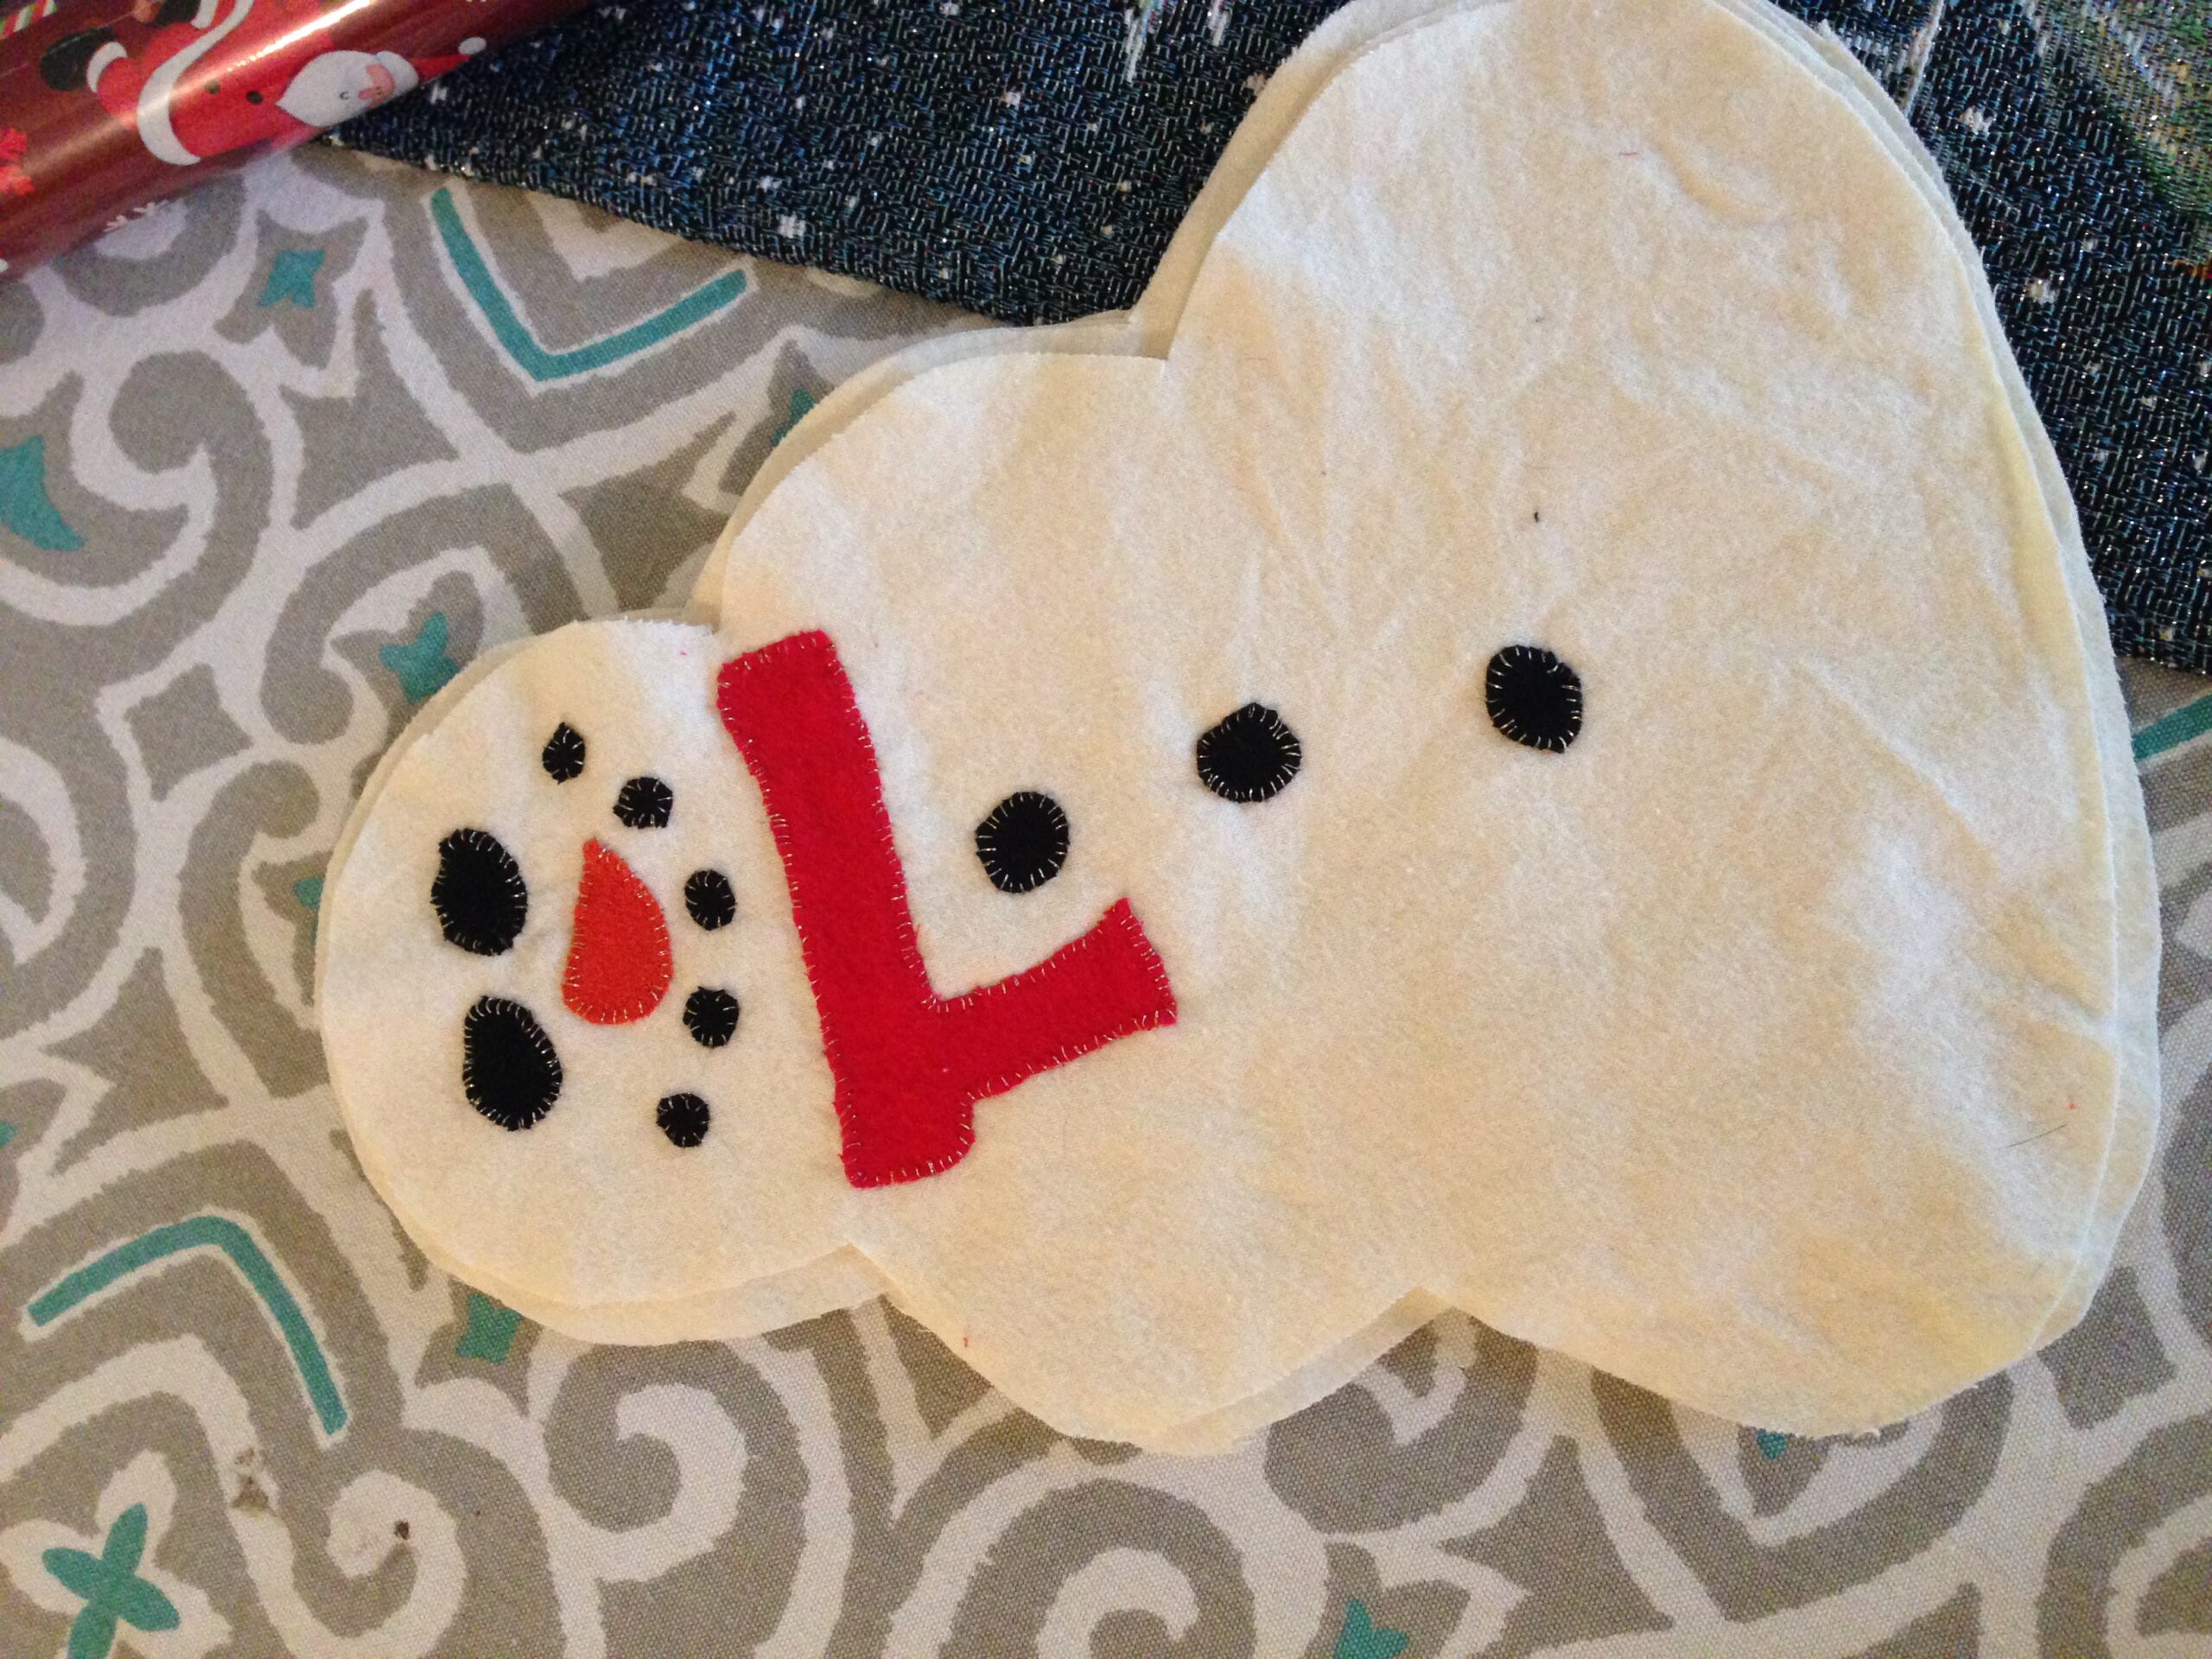
Now comes the part where we add the face and body details to your diy snowman pillow!  I used black for the eyes, mouth, and buttons, red for the scarf, and orange for the nose.  You could definitely mix up the colors however you’d like though!  I sewed on each part to the front body of the snowman…eyes, nose, mouth, buttons, and scarf…by hand using the method shown in the pictures below.  I used a glitzy, gold thread which added some pop to the design.

snowman_3

snowman_2

IMG_9713

Finally, the front body (with the face, scarf, and button details) needs to be sewn onto the back body.  Take the back body and pin it to the front body with the pretty-sides facing one another.  Sew all around the snowman, leaving about 6 inches worth of bottom oval open.  You can do this by hand or with a sewing machine.  Then, turn the snowman right-side-out and stuff him with your batting.

batting

To finish, sew up the bottom 6 inch gap using a hidden stitch.  Voila!

And that’s it!  What do you think?  I love adding fun, wintery touches to my home when it is so cold and dreary outside.  Helps make the winter months more fun 🙂

Some tips that I found helpful…Use a smaller embroidery needle when sewing on the details to the face.  Keep the details of the face towards the center of that face oval.  This will allow for some buffer when you sew the back body onto the front body.  (A stout snowman becomes a normal looking snowman when you lose 1/4″ of sewing allowance all around).

If you have any questions feel free to email or comment them our way!  We’d love to help you complete your own diy snowman pillow!

DIY Embroidery Floss Belt

diy embroidery floss belt

Looking for a fun and easy DIY suitable for a young adult cancer survivor, patient, or caregiver?  This diy embroidery floss belt is a great one…easy, portable, and it doesn’t take a ton of brain power 🙂  It also has the added bonus of resulting in a great accessory!  Looking for an easy project for a kiddo in your life?  Look no further!  🙂

All you’ll need are a few colors of embroidery floss…I used 6 colors and used each color two times per row of belt.  This diy is super simple and definitely will take you back to the days of friendship bracelets and summer camp.  So!  To make this diy embroidery floss belt (or bracelet!), take your chosen colors, unwrap each of the skeins (the bundles of embroidery floss are called skeins), bundle them all together, fold the bundle in half, and tie a knot at the halfway point.  You definitely don’t have to fold over the strands to double them up…you *could* just straighten out the skeins and tie them together at the top.  I did the fold over process because I wanted the added width that this would provide.

IMG_7364

IMG_7365

IMG_7368

IMG_7369

IMG_7370

Then, separate out the colors to get started.  My first strand of color is yellow.  You can use whatever colors you want but I’ll tell you which strands on the belt go with which of my colors to help illustrate the method.

I take that first strand (yellow), and fold it over the next strand (mine is navy blue), creating the shape of a number 4.  The tail of the first strand (yellow) then gets looped around the second strand (blue) and looped through.  This is shown in the picture below.  Once this is done, pull the first strand (yellow) tight and up towards the top, creating a knot.  Tie two of these “four” knots for your first strand (yellow), around your second strand (blue).

IMG_7373

You will tie 2, “4” knots of this first strand (yellow) onto each of the subsequent strands in turn.  This creates your first row.  To start your second row, continue onto the second strand (navy blue), tying two “4” knots of the second strand (navy blue) around the third strand (mint green).  This process continues until you have finished tying “4” knots of the second strand (navy blue) around each of the subsequent strands.  That finishes your second row.  And, that’s it! Just keep going, creating rows of these “4” knots with each colored strand.  I suggest looping your top loop (as shown below) onto something so that everything stays in place better while you’re working.

IMG_7375

Following these instructions, your belt/bracelet will naturally obtain this cool looking slant!  If you’re interested in a different style, look here for other tutorials and designs.  (I thought this one and this one looked pretty!)

IMG_8029

Now just keep going until the diy embroidery floss belt is as long as your young adult cancer survivor heart desires 🙂  Want a bracelet instead?  Great!  You’ll be done a whole lot sooner!

Have you tried a belt or bracelet project like this before?  Would you teach this to your kiddos?